For reliable connectivity in US National Parks in 2026, an eSIM leveraging major US carriers like AT&T and Verizon is your best bet, offering significantly better coverage than smaller regional providers in these remote, often challenging terrains.
Why National Parks Are Signal Graveyards
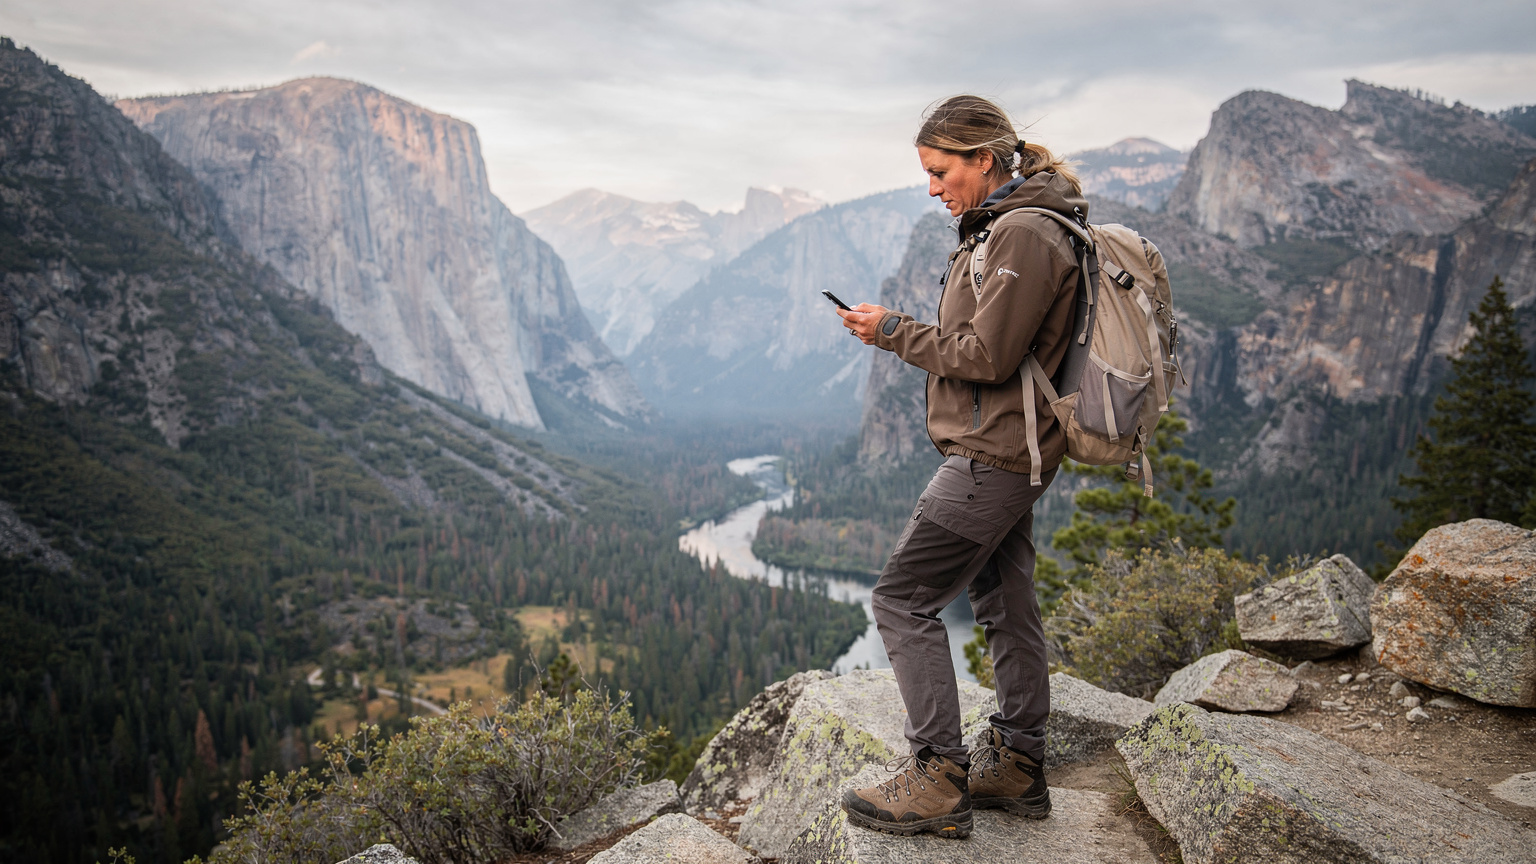
Look, I've been on the road for four years straight, hopping from Chiang Mai co-working spaces like Punspace Nimman (where a month of hot-desking runs about 3,500 THB) to the bustling cafes of Palermo, Buenos Aires, where I once paid $400 for a decent Airbnb near a good coworking spot for a month. Connectivity is my lifeblood. But nothing, and I mean nothing, tests your patience quite like trying to get a signal in the middle of a US National Park. These places, by design, are remote. They're vast, rugged, and often devoid of the infrastructure needed for consistent cellular service.
You're talking about huge swaths of protected wilderness, far from major population centers. The terrain itself, with its towering mountains, deep canyons, and dense forests, acts like a giant Faraday cage, blocking signals. Cellular towers are expensive to build and maintain, especially in areas with low population density and strict environmental regulations. Plus, many parks prioritize preserving natural quiet over blanket Wi-Fi access. It's a trade-off, and usually, nature wins.
The Harsh Reality of Limited Infrastructure
Most of us take reliable internet for granted. We expect to pull up Google Maps, stream a podcast, or even make a quick video call whenever we want. But in places like Zion Canyon or the backcountry of Yellowstone, those expectations need to be reined in. You're not going to find fiber optic cables running to every trailhead. The few towers that do exist are strategically placed, often covering visitor centers, park entrances, and maybe a few main roads. Venture off those paths, and you're quickly in a dead zone.
I remember trying to coordinate with friends for a hike in Glacier National Park, thinking my standard prepaid US SIM would cut it. Wrong. I spent an hour driving back and forth near the Apgar Village Lodge, trying to get enough bars to send a single text message. It felt like I was back in 2005. This isn't just an inconvenience, it can be a safety issue, too, if you need to report an emergency.
Common Dead Zones You'll Encounter
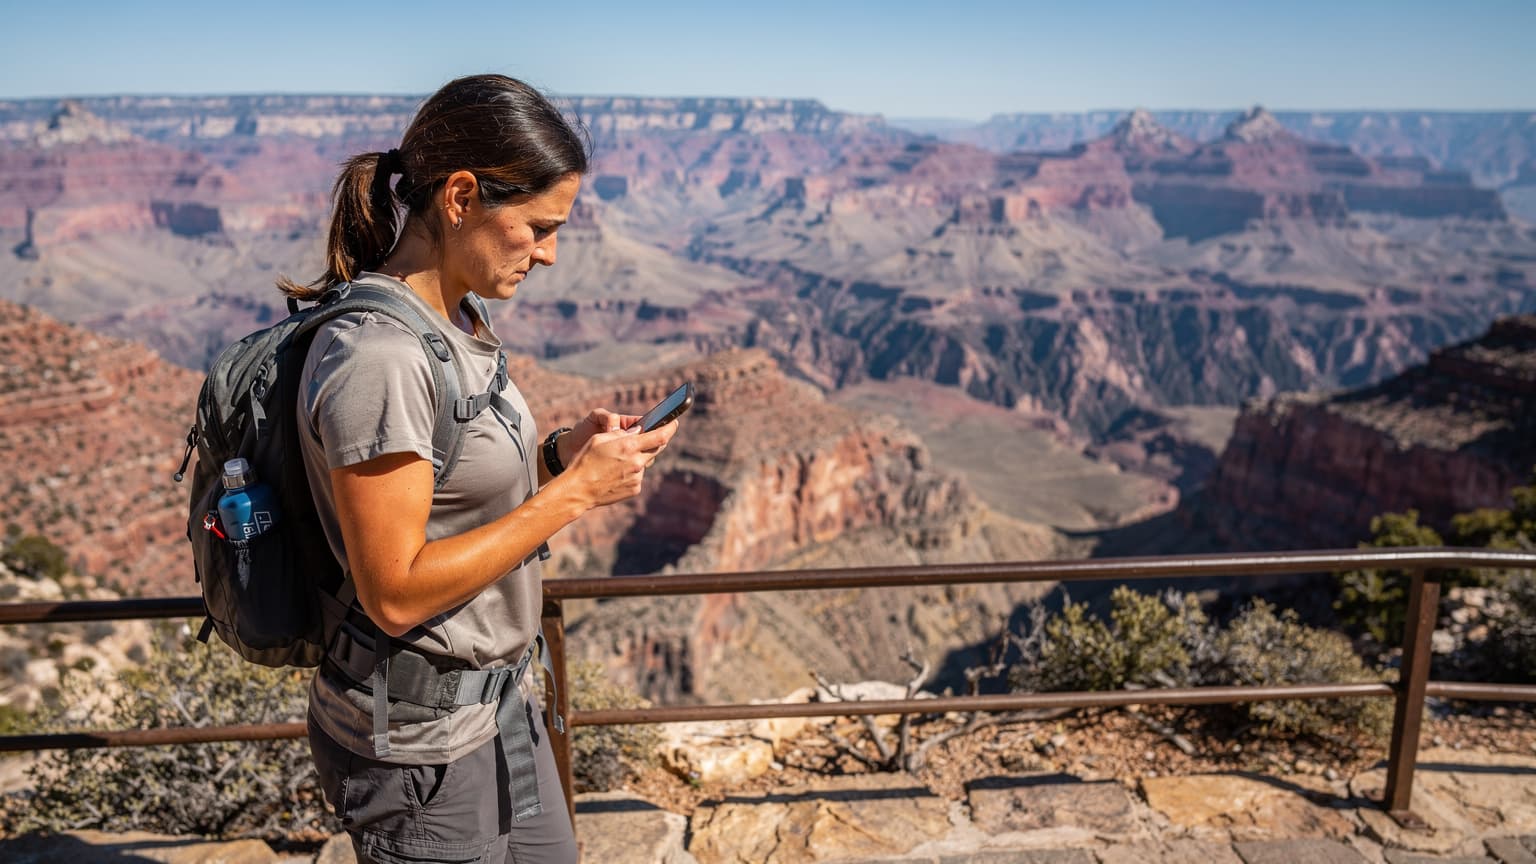
- Grand Canyon National Park: Especially below the rim and in more remote areas like the North Rim, signal is extremely patchy. Don't expect to stream your favorite show while hiking down to Phantom Ranch.
- Yellowstone National Park: While you might get some coverage around Old Faithful or Canyon Village, the vast majority of the park, particularly in Hayden Valley or Lamar Valley, is a connectivity desert.
- Zion National Park: Inside the canyon, especially along the Virgin River or on trails like Angel's Landing, don't count on a signal. It's spotty even in Springdale, the gateway town.
- Yosemite National Park: Yosemite Valley has some limited service, but once you head up to Tioga Pass or into the Hetch Hetchy area, you'll be offline.
- Big Bend National Park: This remote Texas park is infamous for its lack of signal, largely due to its vastness and proximity to the US-Mexico border, which makes tower placement tricky.
Understanding these limitations upfront helps you set realistic expectations and, more importantly, plan your connectivity strategy. A good eSIM, specifically one that taps into the strongest networks, is crucial.
eSIM vs. Physical SIMs in the Wild
Alright, let's talk brass tacks. When you're out in the wilderness, every ounce of convenience matters. Fumbling with tiny SIM cards, trying to find a paperclip, or worse, losing your home SIM in a gust of wind, is the last thing you want to deal with. That's where eSIMs truly shine, especially in environments where reliable connectivity is already a challenge.
The Case for eSIM Simplicity and Reliability
An eSIM, or embedded SIM, is a digital SIM profile that's built right into your phone. No physical card, no swapping. You simply activate it with a QR code or an app, and you're good to go. This isn't just about convenience, it's about reducing points of failure. When you're dealing with dust, moisture, and the general chaos of outdoor travel, a physical SIM tray is just another vulnerability.
For nomads like me, who might be in the US for a few weeks before heading to Bangkok for Songkran, the ability to switch networks digitally is invaluable. I can land, scan a QR, and be connected, all before I even leave the airport. No hunting for a local SIM shop, no language barriers, no handing over my passport to a stranger. It's seamless.
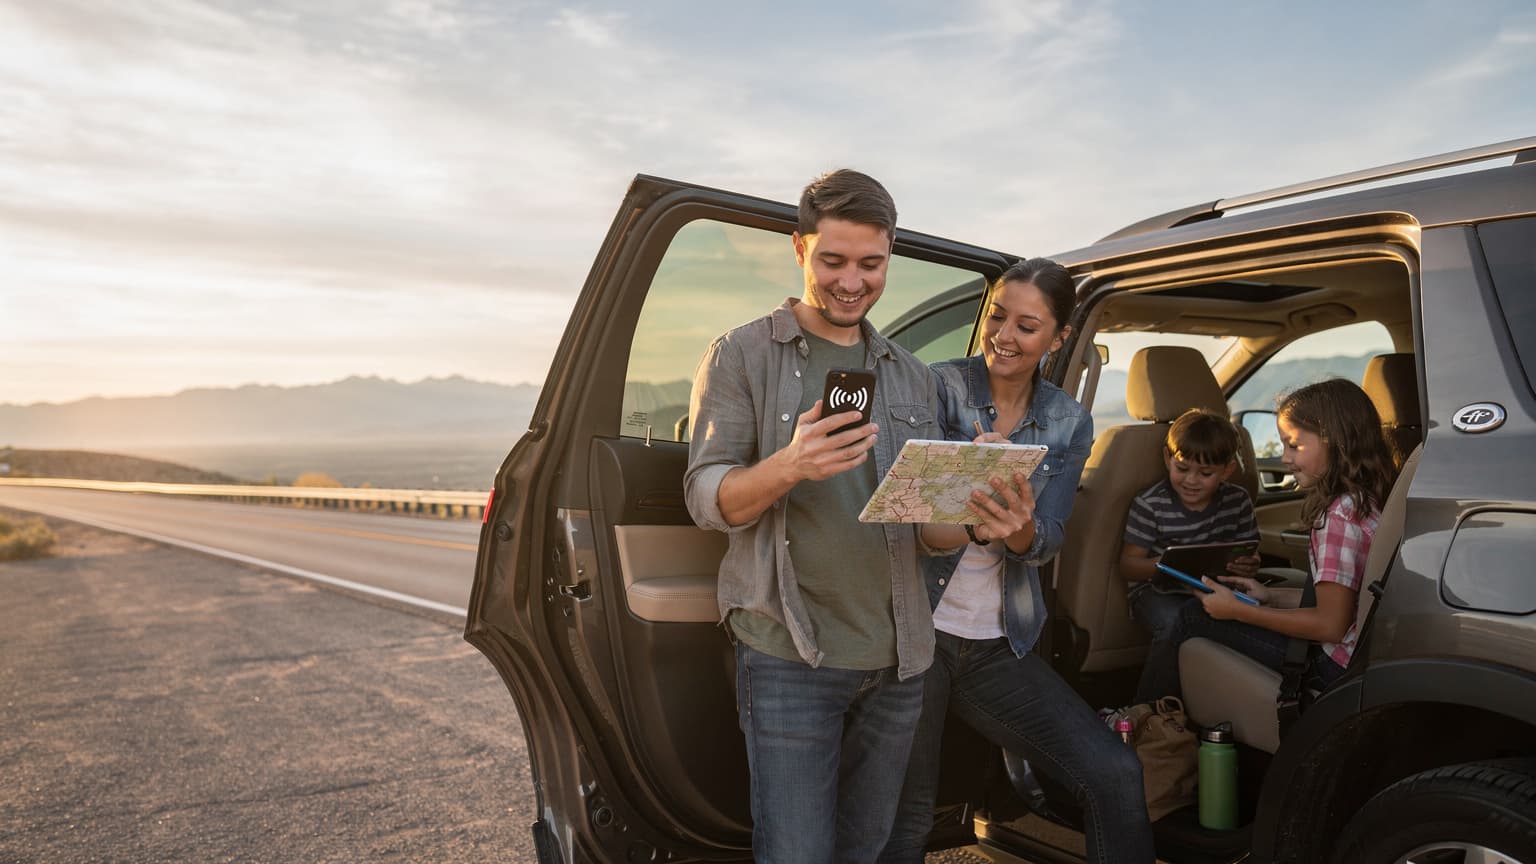
Dual SIM Capabilities: Your Lifeline
Most modern phones with eSIM support also offer dual SIM functionality. This means you can keep your primary number active (for WhatsApp, banking apps, or two-factor authentication from your home country, which some foreign banks, like those in Brazil, absolutely require a local SIM for) while using your eSIM for data in the US. This is a game-changer. Imagine needing to access your banking app, only to find you've swapped out your home SIM. Nightmare. With dual SIM, you avoid that stress entirely.
"I once forgot to swap my Indian SIM back in after a trip, and couldn't access my Aadhaar-linked apps for days. Never again. Dual SIM with an eSIM is non-negotiable for me now."
Identifying the Best Network Partners
This is where the rubber meets the road. In the US, especially in remote areas, not all carriers are created equal. Your eSIM provider, if they're worth their salt, will partner with the major players: AT&T and Verizon. T-Mobile, while strong in urban areas, tends to fall short in the vast wilderness of national parks. You need the networks with the widest reach, not just the fastest city speeds.
AT&T vs. Verizon: The Great Outdoors Showdown
When it comes to coverage in national parks, AT&T and Verizon are the undisputed heavyweights. They've invested heavily in infrastructure in rural and less populated areas, largely due to historical contracts and a focus on enterprise solutions that require broad coverage.
| Carrier | Strengths in National Parks | Weaknesses |
|---|---|---|
| AT&T | Good coverage along major interstates and park access roads, decent in some visitor centers. Often a strong option in the Western US. | Can still be very spotty deep within parks or in mountainous terrain. Data speeds can drop significantly. |
| Verizon | Generally considered the leader for rural and remote coverage. Often has towers in more challenging locations. Strong in the Northeast and parts of the Southwest. | May struggle in very deep canyons or extremely dense forests. Can be more expensive for postpaid plans. |
| T-Mobile | Excellent urban and suburban coverage. Good for towns immediately surrounding parks. | Very poor coverage deep within national parks and most rural areas. Not recommended as a primary park data source. |
Why WestESIM's Carrier Partnerships Matter
When you pick an eSIM, you're not just buying data, you're buying access to a network. A good eSIM provider for the US will explicitly state which local carriers they partner with. If they don't, or if they only offer one option, be wary. You want an eSIM that can intelligently switch between AT&T and Verizon, or at least give you the option to choose, especially if you know one performs better in a specific park you're visiting.
I always look for providers that give me that flexibility. It's like having two spare tires instead of one. If AT&T is struggling in a particular valley, my phone can try to latch onto Verizon. This multi-carrier approach is absolutely critical for national park connectivity. Don't settle for less. To purchase an eSIM for the United States, check out WestESIM's US plans, which leverage these strong networks.
Choosing the Right eSIM Plan for Your Trip
This isn't about getting the cheapest plan, it's about getting the right plan. In the national parks, you're probably not going to be streaming Netflix, but you'll want enough data for navigation, emergency calls, checking weather updates, and maybe uploading a few photos when you do get a signal. Don't overbuy, but definitely don't underbuy.
Data Volume: How Much Do You Really Need?
Think realistically about your usage. Are you just checking maps and occasional emails, or do you need to upload high-res photos to Instagram every evening? Given the spotty nature of park coverage, heavy data usage might not even be possible consistently. I generally recommend:
- Light User (Maps, messages, basic browsing): 5-10 GB for a 2-week trip.
- Moderate User (Some social media, light video, occasional tethering): 15-20 GB for a 2-week trip.
- Heavy User (If you MUST work, or plan on significant tethering in gateway towns): 30+ GB for a 2-week trip. Remember, you'll probably use less in the parks themselves, but more in the towns surrounding them.
It's always better to have a little extra and not use it than to run out when you need it most. Many eSIM providers also offer top-ups, which is a lifesaver if you miscalculate.
Duration and Flexibility
How long is your trip? Most eSIM plans are for 7, 15, or 30 days. If you're doing an epic month-long road trip hitting multiple parks, a longer duration plan makes sense. If you're just popping into Zion for a long weekend, a shorter, smaller data plan is more economical.
Look for flexibility. Can you extend the plan? Can you easily buy more data? These are important questions, especially when plans change, as they always do on the road. I've had visa limitations cut short a stay in Malaysia, forcing me to pivot to Thailand on short notice. Having an eSIM that could adapt with me was crucial.
| Plan Type | Ideal For | Considerations |
|---|---|---|
| Small Data (e.g., 5-10 GB) | Short trips (under 1 week), emergency communication, light navigation. | Might run out quickly if used for anything beyond essentials. Best for minimal park-only use. |
| Medium Data (e.g., 15-20 GB) | Standard 1-2 week trips, balanced use including some social media, map streaming, and occasional tethering. | Good all-rounder. Sufficient for most travelers who balance park exploration with some connectivity. |
| Large Data (e.g., 30+ GB) | Longer trips (2+ weeks), digital nomads, those needing to work from gateway towns, heavy media consumption. | Provides peace of mind. Might be overkill if you spend most of your time completely off-grid. |
How to Install and Activate Your eSIM
Installing an eSIM is generally straightforward, but it helps to know the steps, especially if you're doing it in a spotty service area. My advice: do this before you leave civilization, ideally when you have strong Wi-Fi.
Step-by-Step Activation
- Purchase Your eSIM Plan: Head to a reliable provider like WestESIM and select a US plan that suits your needs. You'll receive a QR code or activation details via email.
- Connect to Stable Wi-Fi: Seriously, do this in your hotel, at a coffee shop in a town (I've had good luck at the Starbucks in Moab, Utah, near Arches National Park, which has surprisingly fast Wi-Fi), or at home before you even travel. Do NOT try to activate an eSIM with a weak, unreliable connection.
- Add eSIM to Your Device:
- iPhone: Go to Settings > Cellular (or Mobile Data) > Add eSIM. Choose "Use QR Code" and scan the QR code provided by WestESIM. Follow the on-screen prompts.
- Android: Go to Settings > Network & internet > SIMs > Add more > Download a SIM (or similar phrasing, varies by manufacturer). Scan the QR code and follow the instructions.
- Label Your eSIM: Once activated, label your new eSIM something descriptive like "US Travel" or "WestESIM USA" to avoid confusion with your primary SIM.
- Set Data Roaming and Default Line: Go back into your Cellular/Mobile Data settings. Ensure data roaming is ON for your eSIM. Set your eSIM as your default line for Cellular Data. Keep your primary SIM active for calls/texts if you need it, but make sure it's not set for data to avoid surprise roaming charges.
- Test Your Connection: Once activated, turn off Wi-Fi and try to load a webpage or send a message. If it works, you're good to go!
Troubleshooting Common Activation Issues
Sometimes things don't go perfectly, and that's okay. Here are a few things that usually fix it:
- "No Service" or "Searching": Try restarting your phone. Often, that's all it takes for the new profile to properly register with the network.
- Check APN Settings: While usually automatic, sometimes you might need to manually input APN settings. Your eSIM provider's support pages will have these.
- Ensure Data Roaming is ON: This is a common oversight. Data roaming MUST be enabled for your eSIM to work, even if it's a local plan.
- Network Selection: Try manually selecting the network. In your phone's cellular settings, you can usually find an option for "Network Selection" or "Carrier." Turn off automatic and see if you can manually select AT&T or Verizon.
- Contact Support: If all else fails, reach out to your eSIM provider's customer support. They can often diagnose the issue quickly. I've spent enough time troubleshooting connectivity in places like Yerevan, Armenia, to know that sometimes you just need a second pair of eyes, even if it's virtual. For general questions, you can also check out WestESIM's FAQ page.
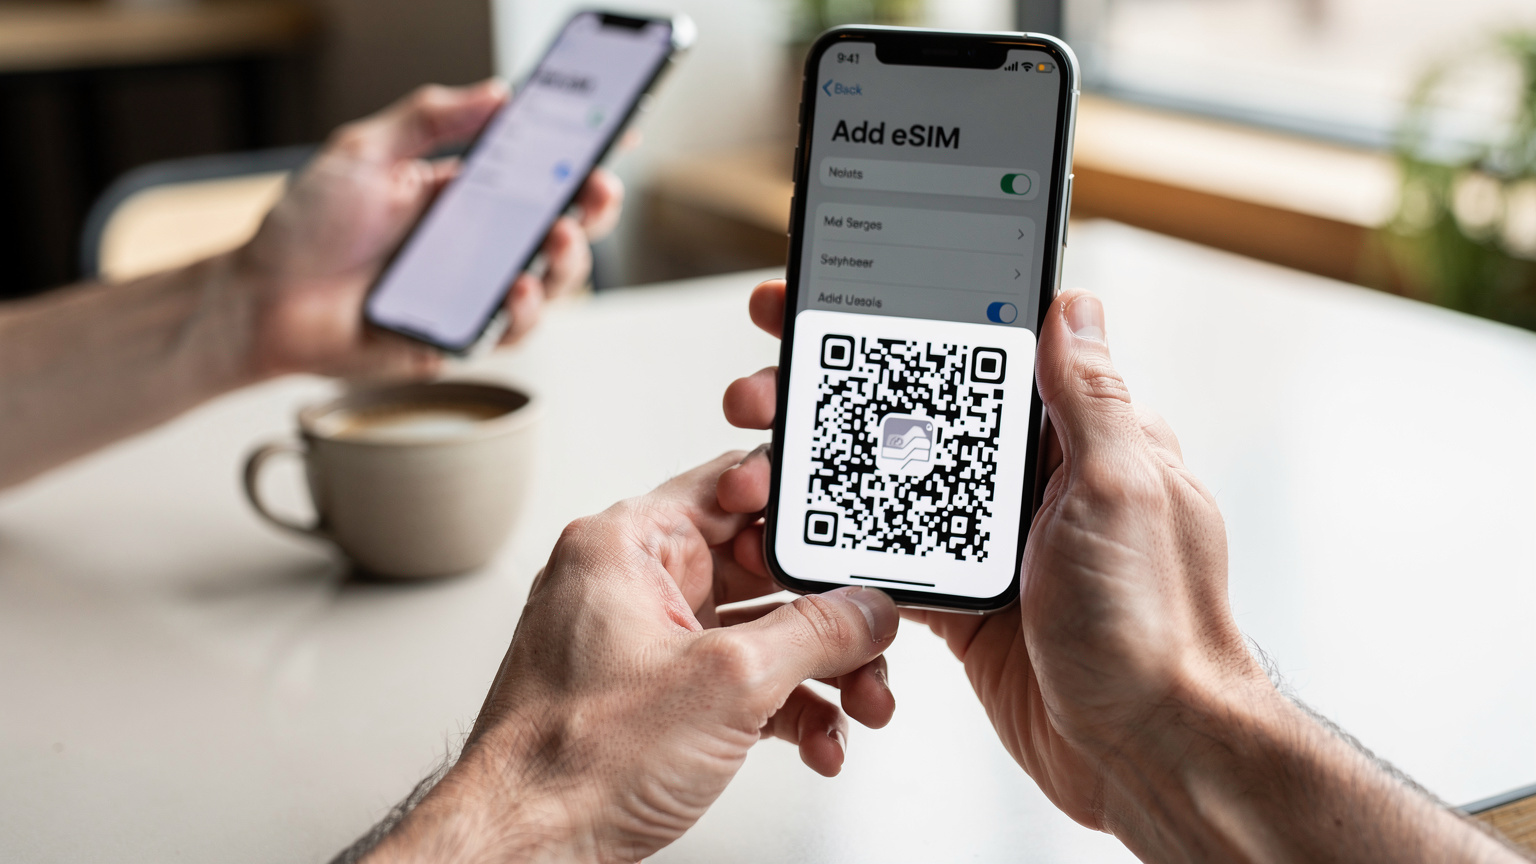
Close-up of hands holding a smartphone, with a QR code displayed on a separate screen, illustrating the eSIM activation process in a bright, modern cafe setting. Tips for Maximizing Signal and Battery Life
In the parks, you're fighting two battles: getting a signal and keeping your phone alive. Both are critical. A dead phone is as useless as no signal. After years of relying on my phone in places where charging points are scarce (like a 3-day hike in Patagonia), I've developed a few habits.
Finding the Sweet Spot for Signal
It's not always about having a signal, but about finding the best signal. Here's what works:
- High Ground: Get to the highest point you can safely reach. Ridges, overlooks, and mountain passes are generally better for signal penetration.
- Clear Line of Sight: Trees, canyon walls, and even dense fog can block signals. Try to get to an open area with a clear view of the sky.
- Visitor Centers and Ranger Stations: These areas often have dedicated cellular boosters or even public Wi-Fi (though it can be slow). Plan to do your uploads and important communications here.
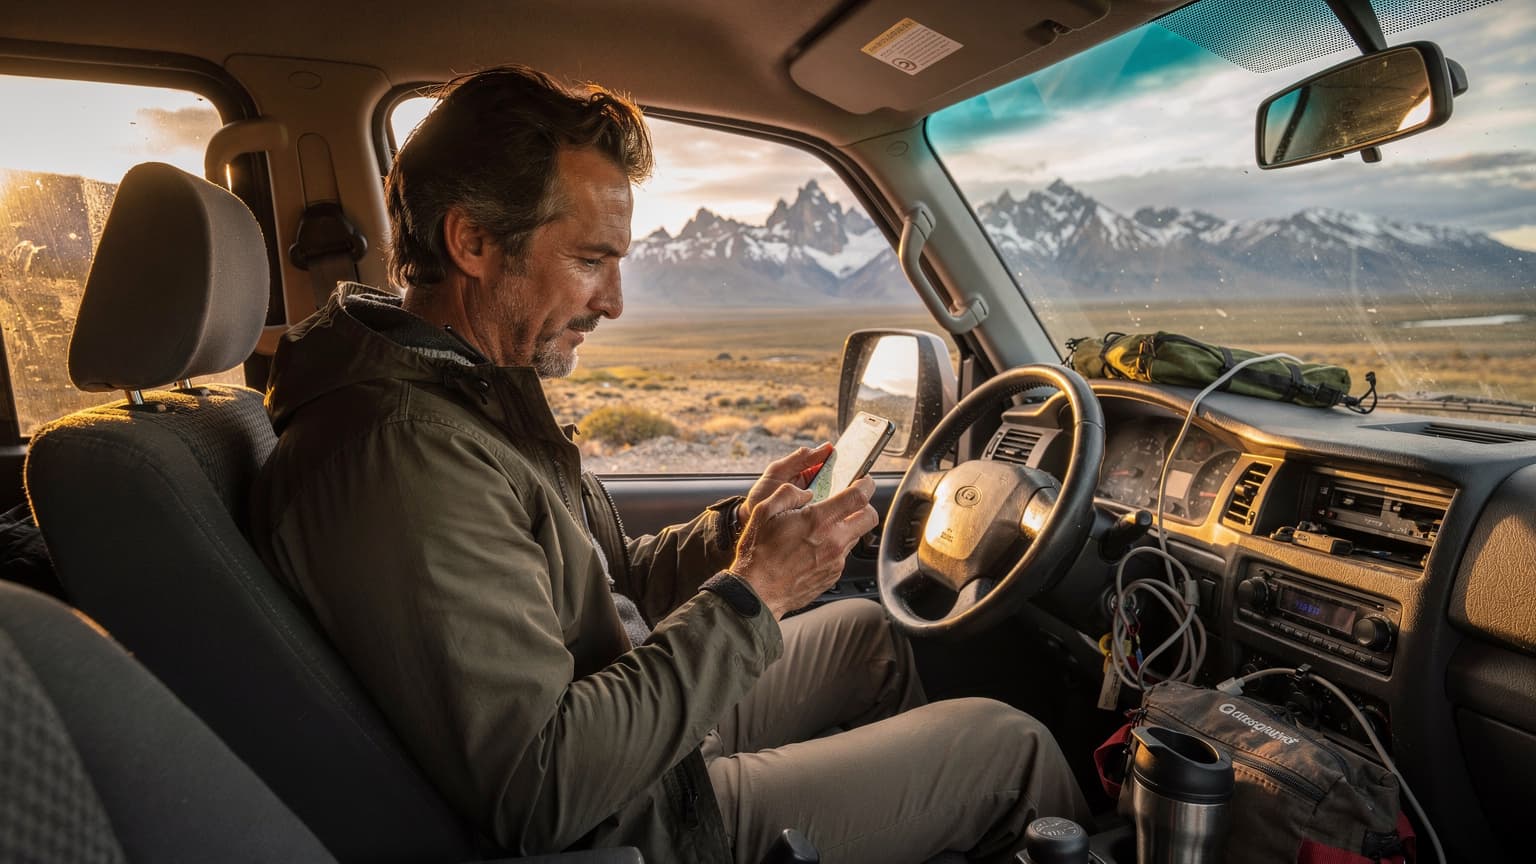
- Car Windows: Believe it or not, sometimes just holding your phone near a window in your car can improve reception slightly, as the vehicle's metal frame can interfere.
- Patience: Sometimes a signal will come and go. If you need to send a message, try waiting a few minutes and rechecking.
Extending Your Phone's Battery Life
Power banks are non-negotiable. I carry a 20,000mAh power bank everywhere. But even with that, you need to manage your phone's battery when power outlets are few and far between.
- Turn Off Wi-Fi and Bluetooth: If you're not actively using them, they're just draining power by constantly searching.
- Enable Low Power Mode: Your phone has this for a reason. It reduces background app refresh, limits visual effects, and conserves battery.
- Download Maps and Content Offline: Before you enter the park, download offline maps (Google Maps, AllTrails, Gaia GPS), music, podcasts, and any guides you might need. This reduces the need for constant data usage.
- Limit App Usage: Close apps you're not using. Social media and streaming apps are notorious battery hogs.
- Adjust Screen Brightness: Your screen is one of the biggest power drains. Keep it as dim as comfortably possible.
- Turn Off Background App Refresh: In your phone's settings, disable this for most apps.
- Put Your Phone in Airplane Mode: If you know you'll be in a dead zone for an extended period, or if you just need to conserve battery for emergencies, put your phone in airplane mode. It stops searching for a signal, which is a major battery drain.
- Keep it Warm (in cold weather): Cold weather rapidly drains phone batteries. Keep your phone in an inside pocket, close to your body, when temperatures drop.
Real-World Scenarios and What to Expect
I've learned the hard way that expectations need to be tempered when you're dealing with connectivity in truly remote places. It's not like getting connected in a bustling city, whether you're in Berlin or Yerevan. The US National Parks are a different beast entirely. Here's what you're likely to experience.
Sparse, Intermittent, or Non-Existent Coverage
This is the most common scenario. You'll drive for miles, see "No Service," then suddenly get two bars for a few minutes near an overlook, only for it to disappear again. Don't plan on holding long phone calls or continuous video chats. Expect to send messages in bursts when you catch a signal.
- Text messages (SMS/iMessage): These are usually the easiest to send when you get a fleeting signal, as they require minimal bandwidth.
- WhatsApp/Signal messages: These will work when you have a decent data connection, but might struggle with very weak signals.
- Voice calls (cellular): Possible in areas with 2-3 bars. VoLTE (Voice over LTE) is common, but still depends on the data signal.
- Voice calls (Wi-Fi Calling): If you find a Wi-Fi hotspot in a visitor center, Wi-Fi Calling is your best bet for reliable voice communication.
- Video calls: Generally not feasible unless you're on strong Wi-Fi or have an unusually robust signal near a tower.
The Visitor Center Wi-Fi Dilemma
Many national park visitor centers offer free Wi-Fi. This sounds great in theory, but in practice, it's often slow, overcrowded, and unreliable. Everyone else is trying to use it too, typically to upload their day's photos or check emails. Don't rely on it for anything mission-critical. I've seen park Wi-Fi so bad it makes dial-up seem speedy. Use it for quick checks and basic messaging, but don't expect to download large files or stream video.
Emergency Communication: When it Matters Most
This is where an eSIM with a reliable carrier network truly shines. Even if you only get one bar, that might be enough to send a critical text message or make an emergency call. Having that possibility, however slim, is worth its weight in gold. Always have a plan for emergencies that doesn't rely solely on your phone, though. Carry a physical map, tell someone your itinerary, and consider a satellite messenger for true backcountry excursions.
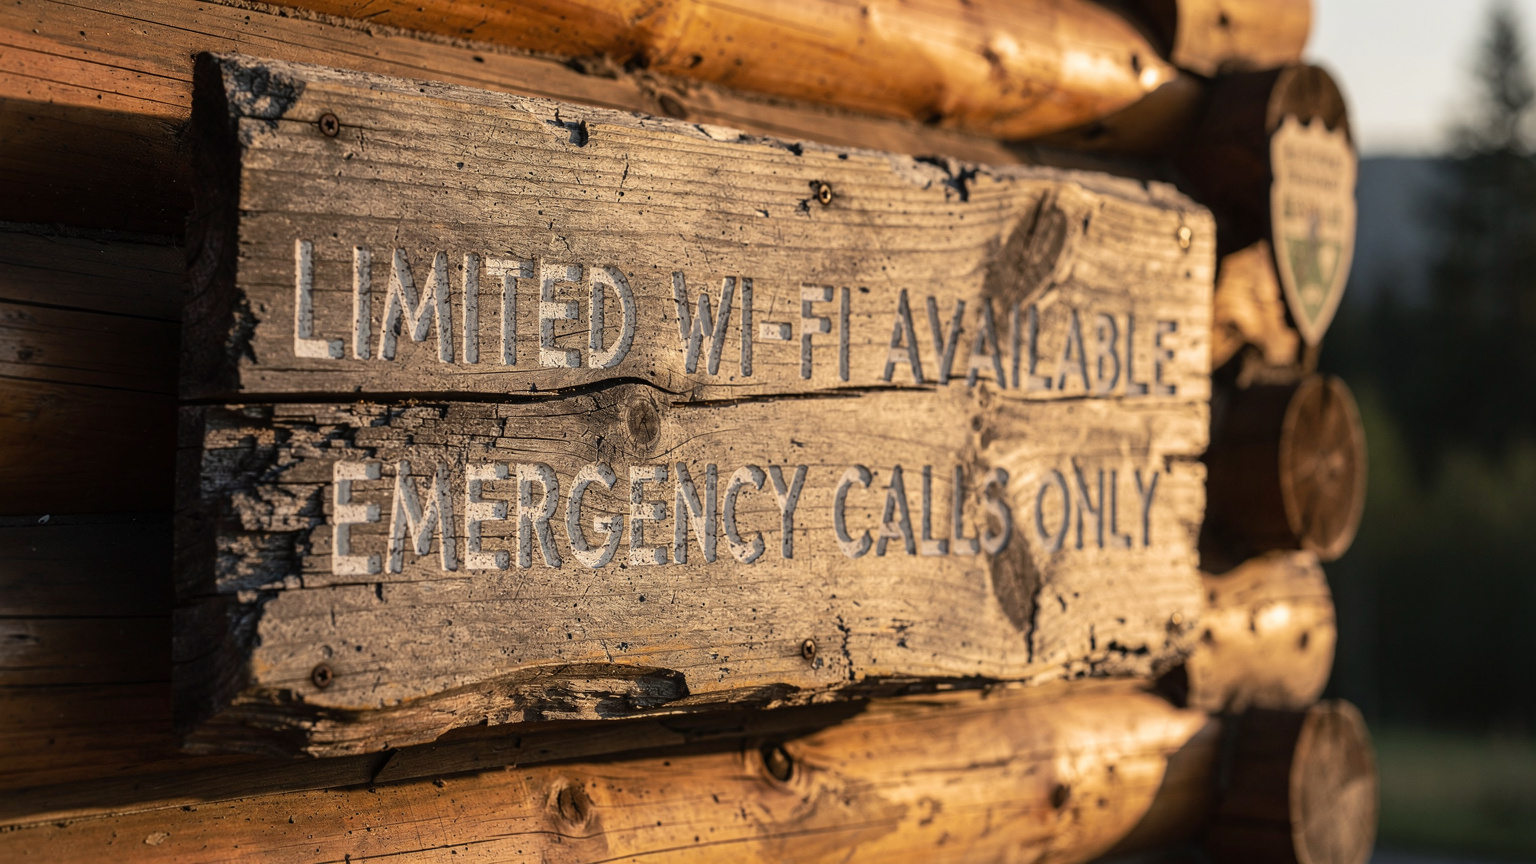
A close-up of a national park ranger's station, with a small, hand-written sign indicating "Limited Wi-Fi Available" or "Emergency Calls Only", reflecting the challenges of connectivity in remote areas. Beyond the Parks: Staying Connected in Nearby Towns
While the parks themselves are challenging, the towns surrounding them, often called "gateway towns," usually have much better connectivity. This is where your eSIM will perform at its peak, and where you can catch up on all the digital tasks you put off in the wilderness.
Gateway Towns and Their Connectivity
Think Springdale outside Zion, Moab near Arches and Canyonlands, or Jackson Hole for Grand Teton and Yellowstone. These towns cater to tourists and often have robust cellular coverage and plenty of Wi-Fi options. This is your chance to:
- Upload Photos: Get all those stunning landscape shots onto the cloud.
- Communicate with Loved Ones: Catch up on video calls.
- Plan Your Next Steps: Research restaurants, book accommodations, or check weather forecasts for your next park.
- Work Remotely: If you're a digital nomad, these towns are where you'll get your actual work done. I've spent weeks in places like Flagstaff, AZ (a great base for the Grand Canyon), where I found a solid co-working space called "Flagstaff Connected" that had fiber internet. Rent for a modest room in a shared house there averaged about $700-800 a month.
Using Your eSIM for Everyday Needs
Your US eSIM isn't just for the parks. It's for the entire US leg of your journey. Use it for:
- GPS Navigation: Even with offline maps, real-time traffic updates are invaluable.
- Restaurant & Hotel Bookings: Most apps require data.
- Ride-Sharing & Public Transport: Uber/Lyft (in larger towns), checking bus schedules.
- Emergency Contacts: Having a reliable line for roadside assistance or medical help.
- Staying in Touch: WhatsApp, iMessage, email.
Remember, while your WestESIM will connect you to major US networks, you still need to be mindful of your data usage, especially if you're planning a multi-country trip. Knowing how mobile data prices compare globally can help you budget effectively for the next leg of your journey.
Planning for Emergencies and Offline Access
Even with the best eSIM, there will be times in national parks when you have zero signal. It's not a matter of "if," but "when." Being prepared for these moments isn't just smart, it's essential for your safety.
Essential Offline Tools
Before you even step foot into a park, arm your phone with these:
- Offline Maps: Google Maps allows you to download entire regions for offline navigation. AllTrails and Gaia GPS are fantastic for hiking trails, even showing your location without a signal.
- Digital Guidebooks: Download PDFs or Kindle versions of park guides, trail descriptions, and local information.
- Emergency Contact List: Have a physical list of emergency numbers (park rangers, local police, roadside assistance) in your wallet. Don't rely solely on your phone.
- First Aid Apps: Apps like the American Red Cross First Aid app can be invaluable in a pinch.
- Pre-downloaded Entertainment: Books, podcasts, music, or movies for downtime, especially if you're camping.
Physical vs. Digital Preparedness
Category Physical Preparedness Digital Preparedness (Offline) Navigation Paper maps, compass. Offline Google Maps, AllTrails Pro, Gaia GPS with downloaded maps. Communication Whistle, signal mirror, personal locator beacon (PLB) or satellite messenger (e.g., Garmin inReach). Pre-written emergency texts in drafts, emergency contact list screenshots. Information Printed park brochures, field guides, first aid manual. Downloaded PDFs of park guides, animal identification apps, first aid apps. Power Spare batteries for headlamp, solar charger. Fully charged power bank(s), low power mode enabled. A satellite messenger is not overkill for serious backcountry travel. Devices like the Garmin inReach Mini allow you to send SOS messages and two-way texts even when your phone has no service. It's a significant investment (around $350 plus a monthly subscription, usually $15-30), but for deep wilderness or solo travel, it's cheap insurance.
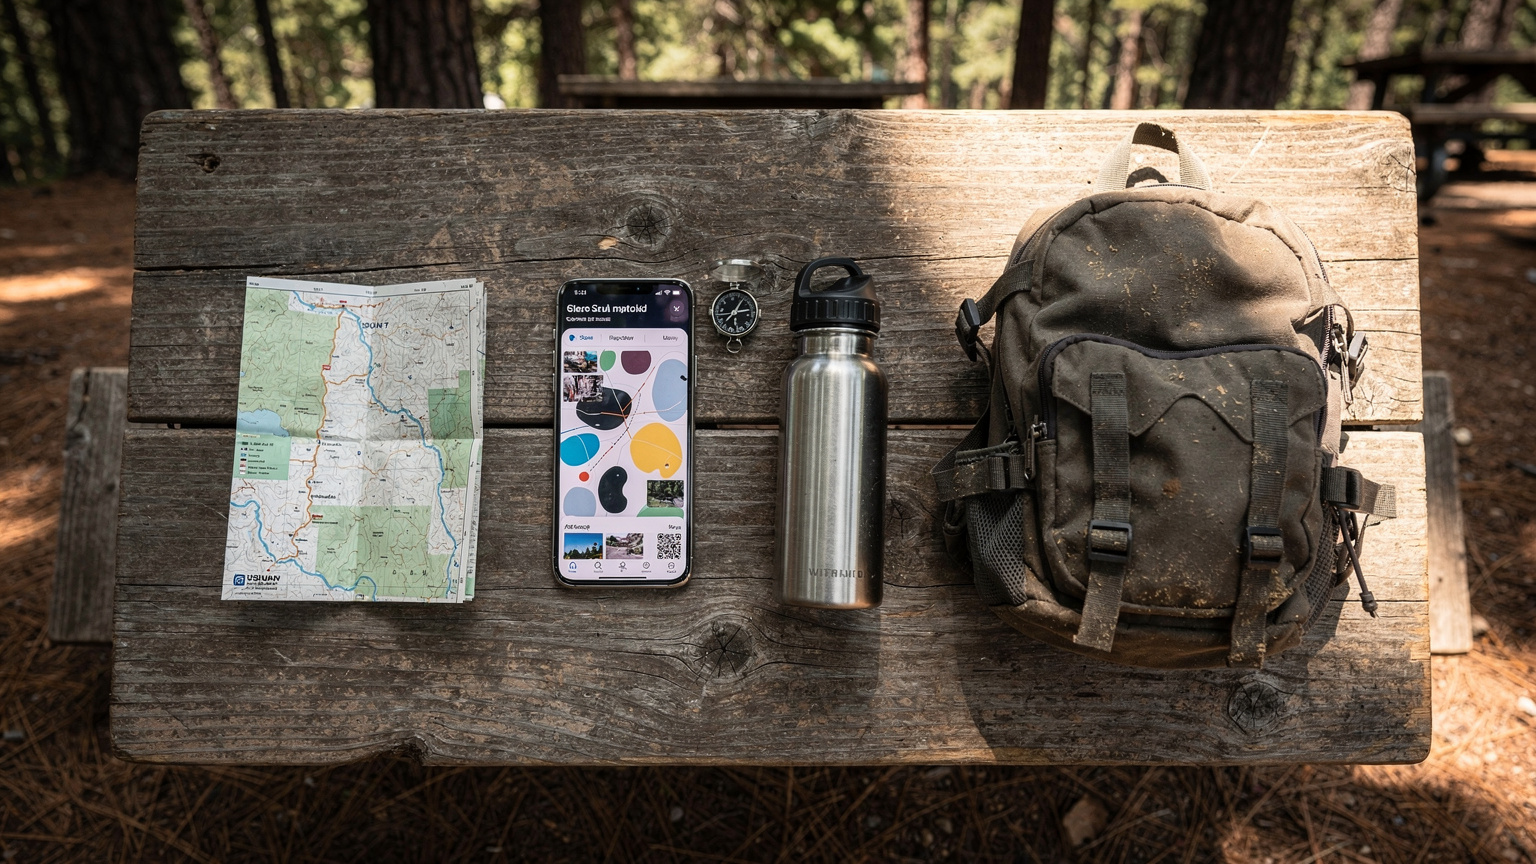
An overhead flat-lay shot of essential travel gear on a worn wooden picnic table in a national park campground: a smartphone with an offline map, a physical park map, a compass, a water bottle, and a small backpack, all ready for a day of exploration. Common Questions About eSIMs and National Parks
Can I use my eSIM for calls and texts in a national park?
Yes, if you have a signal, your eSIM will function for calls and texts just like a physical SIM. However, as noted, signals can be very weak or non-existent in many park areas. Wi-Fi calling is an option if you find a strong enough Wi-Fi network, typically at visitor centers or lodges.
Will my eSIM work on all US cellular networks?
A good US eSIM from a reputable provider will partner with major US carriers like AT&T and Verizon, which offer the broadest coverage, especially in remote areas. Some may also include T-Mobile, but its rural coverage is often weaker. Always check which networks your specific eSIM plan utilizes.
What if I don't get any signal with my eSIM?
If you don't get a signal, it's likely due to the park's remote location and terrain, not an issue with your eSIM itself. Ensure you've followed all activation steps, that data roaming is on, and try restarting your phone. If still no signal, you're probably in a dead zone. Revert to offline maps and emergency protocols.
Can I use my eSIM for tethering (hotspot) in national parks?
Yes, if your eSIM plan allows tethering and you have a strong enough signal, you can use your phone as a hotspot. Be mindful that tethering consumes data and battery life very quickly. In areas with weak signals, tethering might be too slow to be practical.
Is it better to buy a local physical SIM or an eSIM for national parks?
For most international travelers, an eSIM is superior. It offers convenience (no physical swapping, dual SIM functionality), and you can activate it before you arrive. A physical SIM from a major carrier like AT&T or Verizon might offer similar coverage, but the logistical hassle is greater, and you'd likely lose your home SIM functionality unless you have a dual-physical SIM phone.
Frequently Asked Questions
Which US National Parks have the best cell service?
Parks closer to major cities or with significant tourist infrastructure generally have better service. For example, some parts of Grand Teton, Rocky Mountain, and Acadia National Parks might offer limited coverage, especially near visitor centers or main roads. Yellowstone and Grand Canyon are notoriously spotty outside of a few specific zones.
Can I rely on Wi-Fi in US National Parks?
Do not rely on Wi-Fi. While some visitor centers, lodges, and gateway towns offer Wi-Fi, it's often slow, congested, and unreliable. It's usually adequate for basic email or messaging, but rarely for demanding tasks like video calls or large downloads.
What's the best way to get data for my phone if I'm visiting multiple US National Parks?
An eSIM plan covering the entire US from a provider that partners with AT&T and Verizon is ideal. This allows you to maintain consistent data access as you travel between parks and through gateway towns, without needing to buy multiple local SIMs.
Are there any apps that work offline in national parks?
Absolutely. Google Maps allows you to download entire regions for offline navigation. AllTrails and Gaia GPS are excellent for trail maps that work without cell service. You can also download guidebooks, music, and podcasts to enjoy offline.
What should I do if my phone battery dies in a national park?
Always carry a fully charged power bank, preferably one with a large capacity (20,000mAh or more). If your phone dies, you'll need to rely on physical maps, a compass, and emergency supplies. Consider a satellite messenger for true backcountry emergencies.
Will my regular US phone plan work in national parks?
Your regular US phone plan (from AT&T, Verizon, T-Mobile, etc.) will work wherever there is signal. The issue isn't the plan itself, but the lack of cellular infrastructure in many remote park areas. T-Mobile, in particular, has weak coverage outside of populated regions.