iPhone 17 & WestESIM: Seamless Setup for Your Americas Journey (2026)
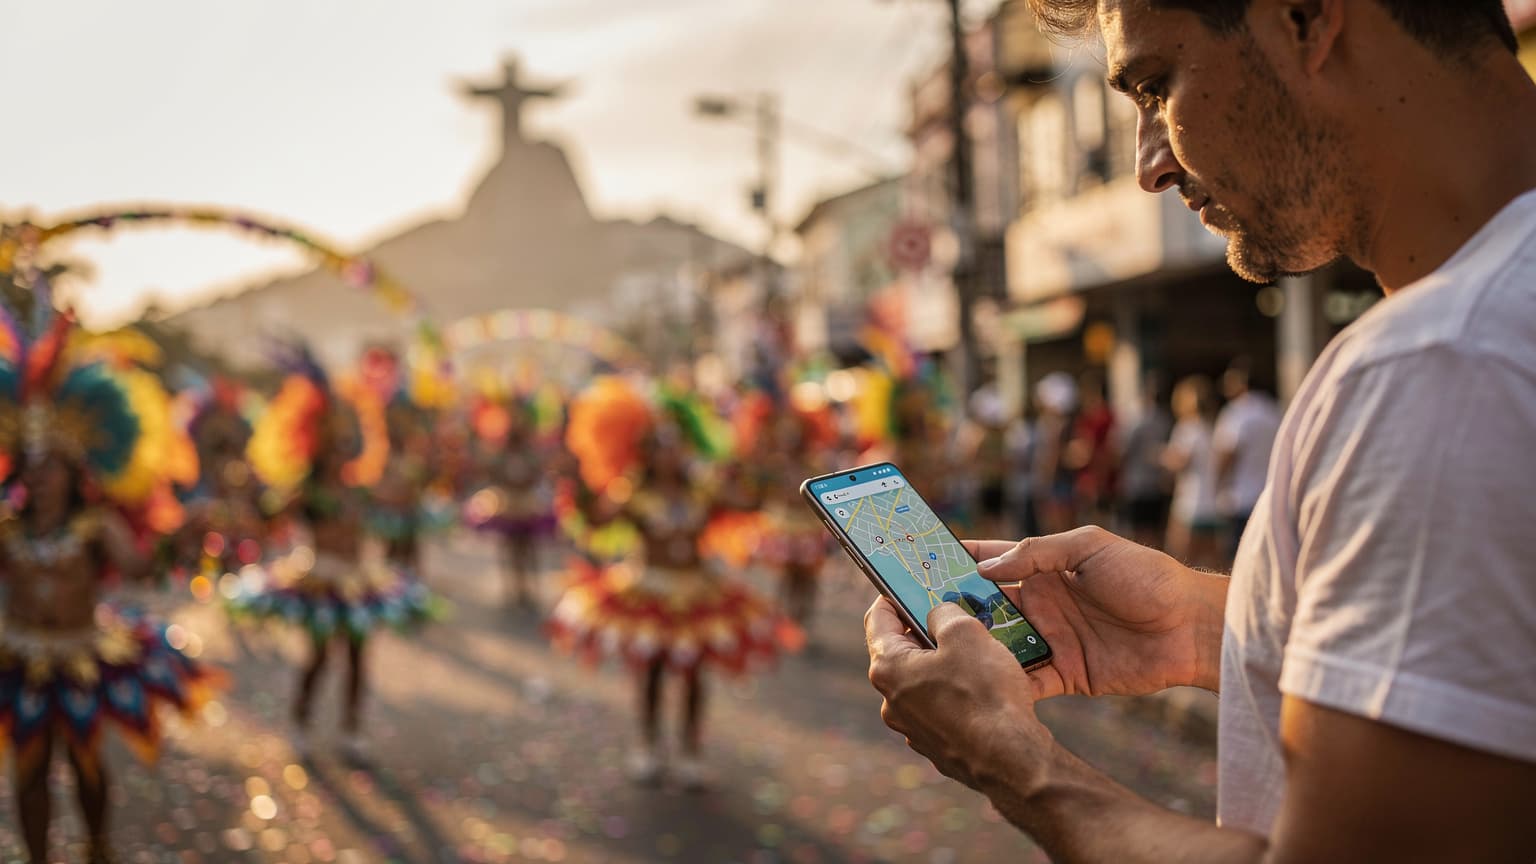
Planning an adventure through the Americas in 2026? Whether you’re dreaming of the bustling streets of New York, the ancient wonders of Machu Picchu, or the vibrant rhythms of Rio, staying connected is paramount. Forget the days of hunting for local SIM cards or wrestling with expensive roaming charges. With the advanced capabilities of your brand-new iPhone 17 and the robust coverage offered by WestESIM, seamless connectivity across the entire continent is not just a dream – it’s a simple setup away. This comprehensive guide will walk you through everything you need to know to ensure your iPhone 17 is travel-ready, from pre-departure checks to in-country troubleshooting, all designed to keep you connected and stress-free.
Why Your iPhone 17 is Your Best Travel Companion (2026)
The iPhone 17, by 2026, will likely boast a suite of features that make it an unparalleled travel tool. Expect even more sophisticated camera systems for capturing breathtaking landscapes, enhanced battery life to keep you going all day, and perhaps most importantly for international travel, advanced eSIM capabilities. These improvements mean less bulk (no need for physical SIM trays), greater security, and a more streamlined user experience. Its robust processing power will handle everything from navigation apps to real-time translation, making it an indispensable partner for your Americas exploration.
Understanding WestESIM: Your Digital Gateway to the Americas
WestESIM is a leading provider of travel eSIMs specifically designed for extensive coverage across North, Central, and South America. Unlike traditional SIM cards, an eSIM (embedded SIM) is a digital SIM that allows you to activate a cellular plan without needing a physical card. WestESIM offers various data packages tailored for different travel durations and usage needs, ensuring you only pay for what you require. Their strong network partnerships across the Americas guarantee reliable service in urban centers and often in more remote areas, providing peace of mind wherever your journey takes you. When considering which eSIM to use, services like WestESIM also offer competitive plans and broad coverage, making them excellent alternatives or complements to WestESIM depending on your specific travel itinerary and data needs.
Pre-Departure Checklist: Setting Up Your iPhone 17 for WestESIM
1. Ensure Your iPhone 17 is Unlocked
This is perhaps the most crucial step. Before you even think about an eSIM, confirm that your iPhone 17 is unlocked from your home carrier. A locked phone will not allow you to activate a plan from another provider, including WestESIM. Most iPhones purchased outright or after a contract period are unlocked, but it’s always best to double-check with your current carrier before you leave.
2. Download the WestESIM App (or Access Their Website)
While you can often manage eSIMs through your iPhone settings, downloading the dedicated WestESIM app will streamline the process. The app typically offers intuitive navigation for browsing plans, purchasing, and activating your eSIM. Alternatively, their website provides the same functionality. Make sure you have the app installed and an account created before you depart, saving you from relying on potentially spotty Wi-Fi abroad.
3. Select Your WestESIM Plan
WestESIM offers various data packages. Consider your travel duration, anticipated data usage (are you a heavy streamer or just need basic navigation and messaging?), and the specific countries you’ll be visiting. Some plans cover the entire continent, while others are region-specific. Purchase your plan a few days before your departure, but don't activate it until you're ready to use it, ideally upon arrival in the Americas, to maximize your data validity period.
4. Back Up Your iPhone 17
While not directly related to eSIM setup, performing a full backup of your iPhone 17 to iCloud or your computer is always a wise pre-travel step. This safeguards your precious data in case of loss, theft, or unforeseen technical issues while abroad.
Activating Your WestESIM on iPhone 17: Step-by-Step
Once you’ve landed in the Americas and are ready to connect, activating your WestESIM is straightforward. Ensure you have access to a Wi-Fi connection for the initial setup, as this will be required to download the eSIM profile.
1. Access Your WestESIM Account
Open the WestESIM app or log into their website on your iPhone 17. Navigate to your purchased plan, which should now be awaiting activation.
2. Initiate eSIM Installation
WestESIM will provide you with options to install the eSIM. This usually involves either scanning a QR code or manually entering activation details. The app typically handles this most seamlessly.
- QR Code Method: If WestESIM provides a QR code (often displayed in the app or sent via email), go to your iPhone 17’s Settings > Cellular > Add eSIM. Tap "Use QR Code" and scan the code.
- Manual Entry Method: If you receive activation details (SM-DP+ Address, Activation Code), go to Settings > Cellular > Add eSIM. Tap "Enter Details Manually" and input the provided information.
3. Label Your eSIM
Once the eSIM profile is downloaded, your iPhone 17 will prompt you to label it. Choose a clear label like "WestESIM Americas" or "Travel eSIM" to easily distinguish it from your primary SIM (if you have one active). This is particularly helpful for managing multiple lines.
4. Set Default Line for Data and Calls
Your iPhone 17 will then ask you to set your preferred line for cellular data, calls, and messages. For data, select your new WestESIM. For calls and messages, you might choose to keep your primary line for iMessage and FaceTime (if supported by your home carrier and you have Wi-Fi calling enabled), or switch to WestESIM for local calls. You can always adjust these settings later.
5. Enable Data Roaming (for WestESIM)
Crucially, ensure Data Roaming is enabled for your WestESIM line. Go to Settings > Cellular > (Your WestESIM label) > Data Roaming and toggle it ON. Don't worry, with an eSIM designed for international use, this won't incur unexpected charges; it simply allows your WestESIM to connect to local networks.
6. Test Your Connection
Once activated and settings are configured, try browsing a website or sending a message. If everything is working, congratulations! You’re connected.
Managing Your WestESIM During Your Trip
Monitoring Data Usage
The WestESIM app is your best friend for tracking data usage. Regularly check it to avoid running out unexpectedly. Your iPhone 17’s Settings > Cellular also provides a breakdown of data consumption per app.
Topping Up Your Data
If you find yourself running low, WestESIM makes it easy to top up directly through their app or website. Choose a new package that suits your remaining travel time and data needs.
Switching Between eSIMs (If Applicable)
If you also have your home country's eSIM active, your iPhone 17 allows seamless switching. Go to Settings > Cellular > Cellular Data and select the eSIM you wish to use for data. This is useful if you want to temporarily switch back to your home plan for specific needs (though usually not recommended for data while abroad due to roaming costs).
Troubleshooting Common eSIM Issues
While eSIMs are generally reliable, occasional hiccups can occur. Here’s how to troubleshoot them:
1. No Service / No Data
- Restart Your iPhone 17: The classic fix often works wonders.
- Check Cellular Settings: Ensure your WestESIM is selected for Cellular Data and Data Roaming is ON.
- Airplane Mode Toggle: Turn Airplane Mode on for 30 seconds, then off. This often forces a network re-registration.
- Network Selection: Sometimes, manually selecting a network helps. Go to Settings > Cellular > (Your WestESIM label) > Network Selection and turn off "Automatic." Try connecting to different available networks.
- Check WestESIM Account: Verify your plan is active and has data remaining in the WestESIM app.
2. Slow Data Speeds
- Check Coverage: You might be in an area with poor signal. Move to a different location if possible.
- Data Throttling: Some plans have speed limits after a certain amount of data usage. Check your WestESIM plan details.
- Network Congestion: In very crowded areas, network speeds can naturally slow down.
3. Cannot Make or Receive Calls/Texts
- Check Call/SMS Settings: Ensure your WestESIM is selected for calls and messages in your iPhone settings if you intend to use it for these services.
- Dialing Codes: Remember to use international dialing codes (+country code) even for local calls if you're using an international eSIM.
4. Contact WestESIM Support
If all else fails, reach out to WestESIM’s customer support. They can often diagnose and resolve issues remotely. Have your account details and iPhone model ready.
Beyond WestESIM: Other Connectivity Tips for Your iPhone 17
Wi-Fi Calling
Enable Wi-Fi Calling on your primary SIM (if supported by your home carrier). This allows you to make and receive calls/texts via Wi-Fi at your home plan’s rates, even with your WestESIM active for data. A great way to stay in touch with family back home without using WestESIM minutes or incurring high roaming charges.
Offline Maps
Download offline maps (Google Maps, Apple Maps, or dedicated apps like Maps.me) for the areas you’ll be visiting. This is a lifesaver when you lose signal or want to conserve data.
Download Entertainment
Before you leave, download movies, TV shows, podcasts, and music for offline enjoyment during long flights or periods without internet access.
Portable Power Bank
Your iPhone 17 is powerful, but heavy usage can drain the battery. A high-capacity power bank is an essential accessory for any long travel day.
Conclusion
The combination of your advanced iPhone 17 and a reliable eSIM like WestESIM (or WestESIM) truly revolutionizes international travel connectivity. By following this guide, you’ll be well-prepared to enjoy seamless internet access, navigation, communication, and all the other benefits your smartphone offers throughout your incredible journey across the Americas in 2026. Happy travels, and stay connected!